How to attach a mulcher to a tractor: a comprehensive guide
NEWS · 15 May 2026
Have you just bought a new Zanon mulcher, or do you need to get your trusty workhorse back into action after winter storage? Find out our technicians’ advice on how to attach the mulcher to your tractor safely.
Knowing how to attach a mulcher to a tractor correctly is not just a matter of efficiency, but above all of safety and the machine’s longevity.
Whether you’re an experienced winegrower or a novice farmer, this guide will take you step by step through the mechanical and hydraulic connections, whilst also explaining the subtle differences between the various models.
What you need to fit the mulcher: preparation and safety
Before driving the tractor up to the mulcher, make sure you have everything under control. Preparation is essential to avoid having to get in and out of the cab ten times.
Before you start:
- switch off the tractor;
- apply the parking brake;
- position the mulcher on stable, level ground;
- check that the tractor’s power is adequate for the weight and width of the mulcher;
- wear work gloves and safety footwear.
1. Positioning and aligning the tractor and mulcher
The first secret to quick coupling is alignment. Position the tractor in reverse, pointing straight towards the three-point hitch of the mulcher.
Advices from our technicians: don’t try to get it ‘spot on’ straight away. Stop about 50 cm away, get off the tractor and check the height of the lift arms in relation to the mulcher’s pins. If necessary, adjust the height of the arms using the external controls (if fitted) or from the cab.
2. Connecting the mulcher’s three-point hitch to the tractor
The three-point mount is the universal standard, but it requires care. Here is the correct order to follow:
Adjustment of the lower links and locking of the pins
Align the lower links (the two side ones): attach the left link first, then the right one. Many modern tractors are fitted with quick-release couplings, which make this a breeze. If your model is fitted with traditional ball joints, insert the pins into the mounting holes and secure them immediately with the safety pins to prevent them from coming loose during use.
Installing the Third Point: how to adjust the angle
Connect the tractor’s upper link (the third point) to the mulcher’s mounting frame. This is a crucial step as it determines the machine’s alignment:
- Insert the pin and secure it with the safety pin.
- Adjustment: the third point must be adjusted so that the machine is perfectly parallel to the ground whilst working. An incorrect angle compromises the quality of the cut and increases wear on the blades.
3. Connecting the mower’s cardan shaft (Power Take-Off) to the tractor
This is the trickiest part. The cardan shaft transmits power from the tractor to the mulcher and must be handled with care. If you’d like to understand better how it works internally, read our in-depth guide on how a tractor’s cardan joint works. Now let’s move on to the steps for connecting the PTO.
Cleaning, coupling and safety locking of the cardan shaft
1. Cleaning: Clean the spigots (the splined ends) thoroughly on both the tractor and the mulcher. A little grease helps with coupling.
2. Checking the length of the drive shaft: Before connecting the drive shaft to the tractor’s power take-off, it is essential to check that the length is correct.
A drive shaft that is too long may ‘bunch up’ whilst lifting the mulcher, causing serious damage to the transmission, gearbox or the tractor’s PTO. Conversely, a drive shaft that is too short may come loose whilst working.
For this reason, it is always advisable to carefully consult the user and maintenance manual for both the mulcher and the drive shaft before fitting.
3. Coupling the PTO shaft: fit the PTO shaft coupling onto the mulcher’s PTO and then onto the tractor’s PTO, pressing the locking button located in the PTO shaft coupling at both ends until it clicks into place. You should hear a metallic ‘click’. Try pulling it towards you to ensure it is locked in place.
Safety: safety chains and shaft length control
Attach the protective chains of the PTO shaft to a fixed point on the tractor and the forage harvester to prevent the plastic guard from rotating with the shaft.
Be mindful of the length: if this is the first time you are using that PTO shaft with that tractor, check that it is not too long. When raised to its maximum height, the PTO shaft must never ‘collapse’ (close completely), otherwise you will damage the mulcher’s gearbox or the tractor’s PTO.
4. Hydraulic connections for movable and side-mounted mulchers
If you have a movable mulcher or a side-mounted mulcher, you will need to connect some hydraulic hoses.
2. Check that the hoses have enough slack so that they do not become excessively taut during manoeuvres to move or tilt the machine (in the case of side-mounted mulchers).
Differences in coupling methods depending on the type of mulcher
Not all mulchers are the same. The mounting principle is similar, but the following vary:
- position;
- hydraulic connections;
- adjustments;
Fitting side mulchers
Side mulchers require particular attention to balance. As these machines extend beyond the tractor’s outline, ensure that the stabiliser chains on the tractor’s arms are properly tensioned to prevent dangerous swaying whilst being transported on the road.
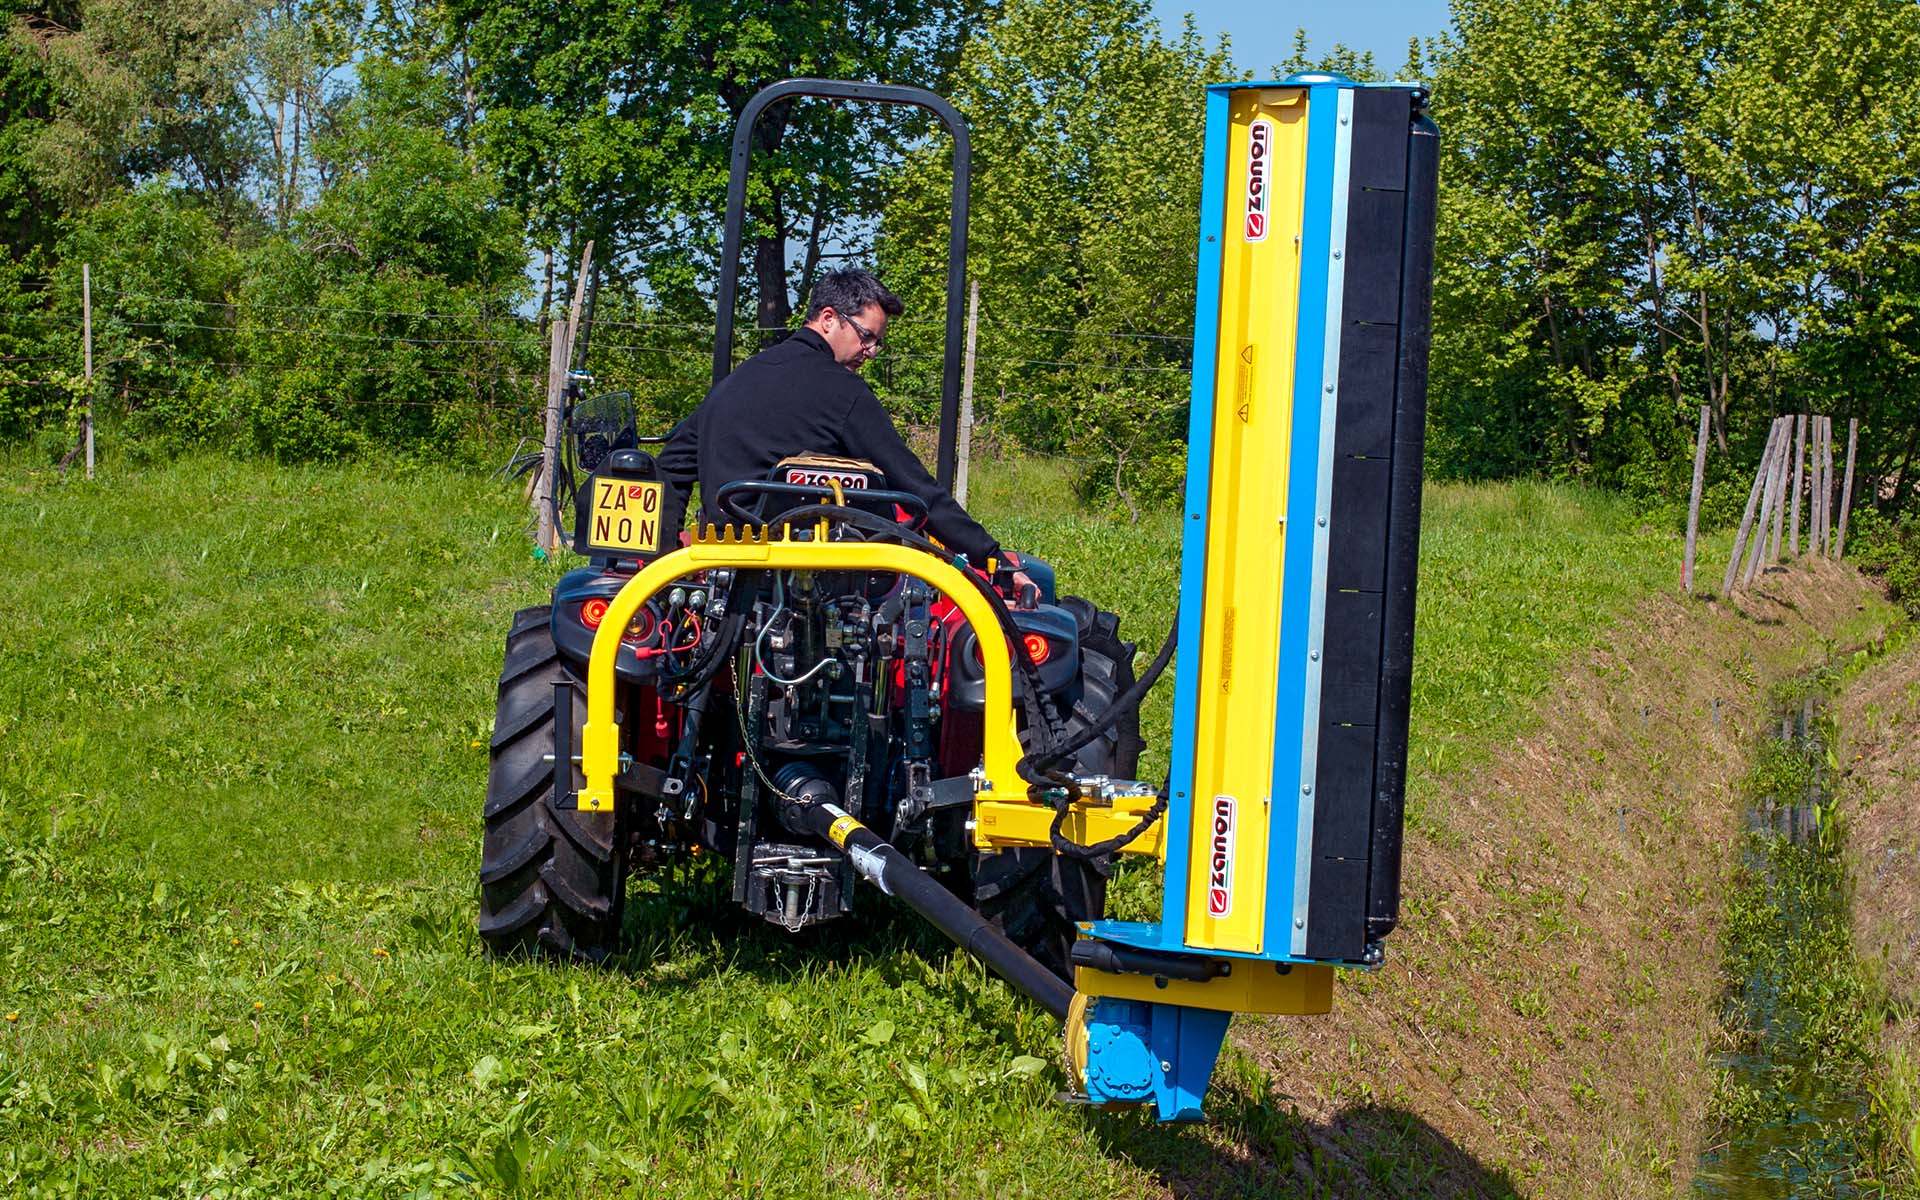
During assembly, the following must be taken into account:
- hydraulic connections for lateral movements;
- tilt adjustment;
- checking the joints and moving arms;
It is important to check that all movements are smooth and that there is no interference during use.
Fitting front-mounted mulchers to the front linkage
Front-mounted mulchers are fitted to the front lift. In this case, visibility is better, but you must check that the direction of rotation of the front PTO is compatible with that of the machine.
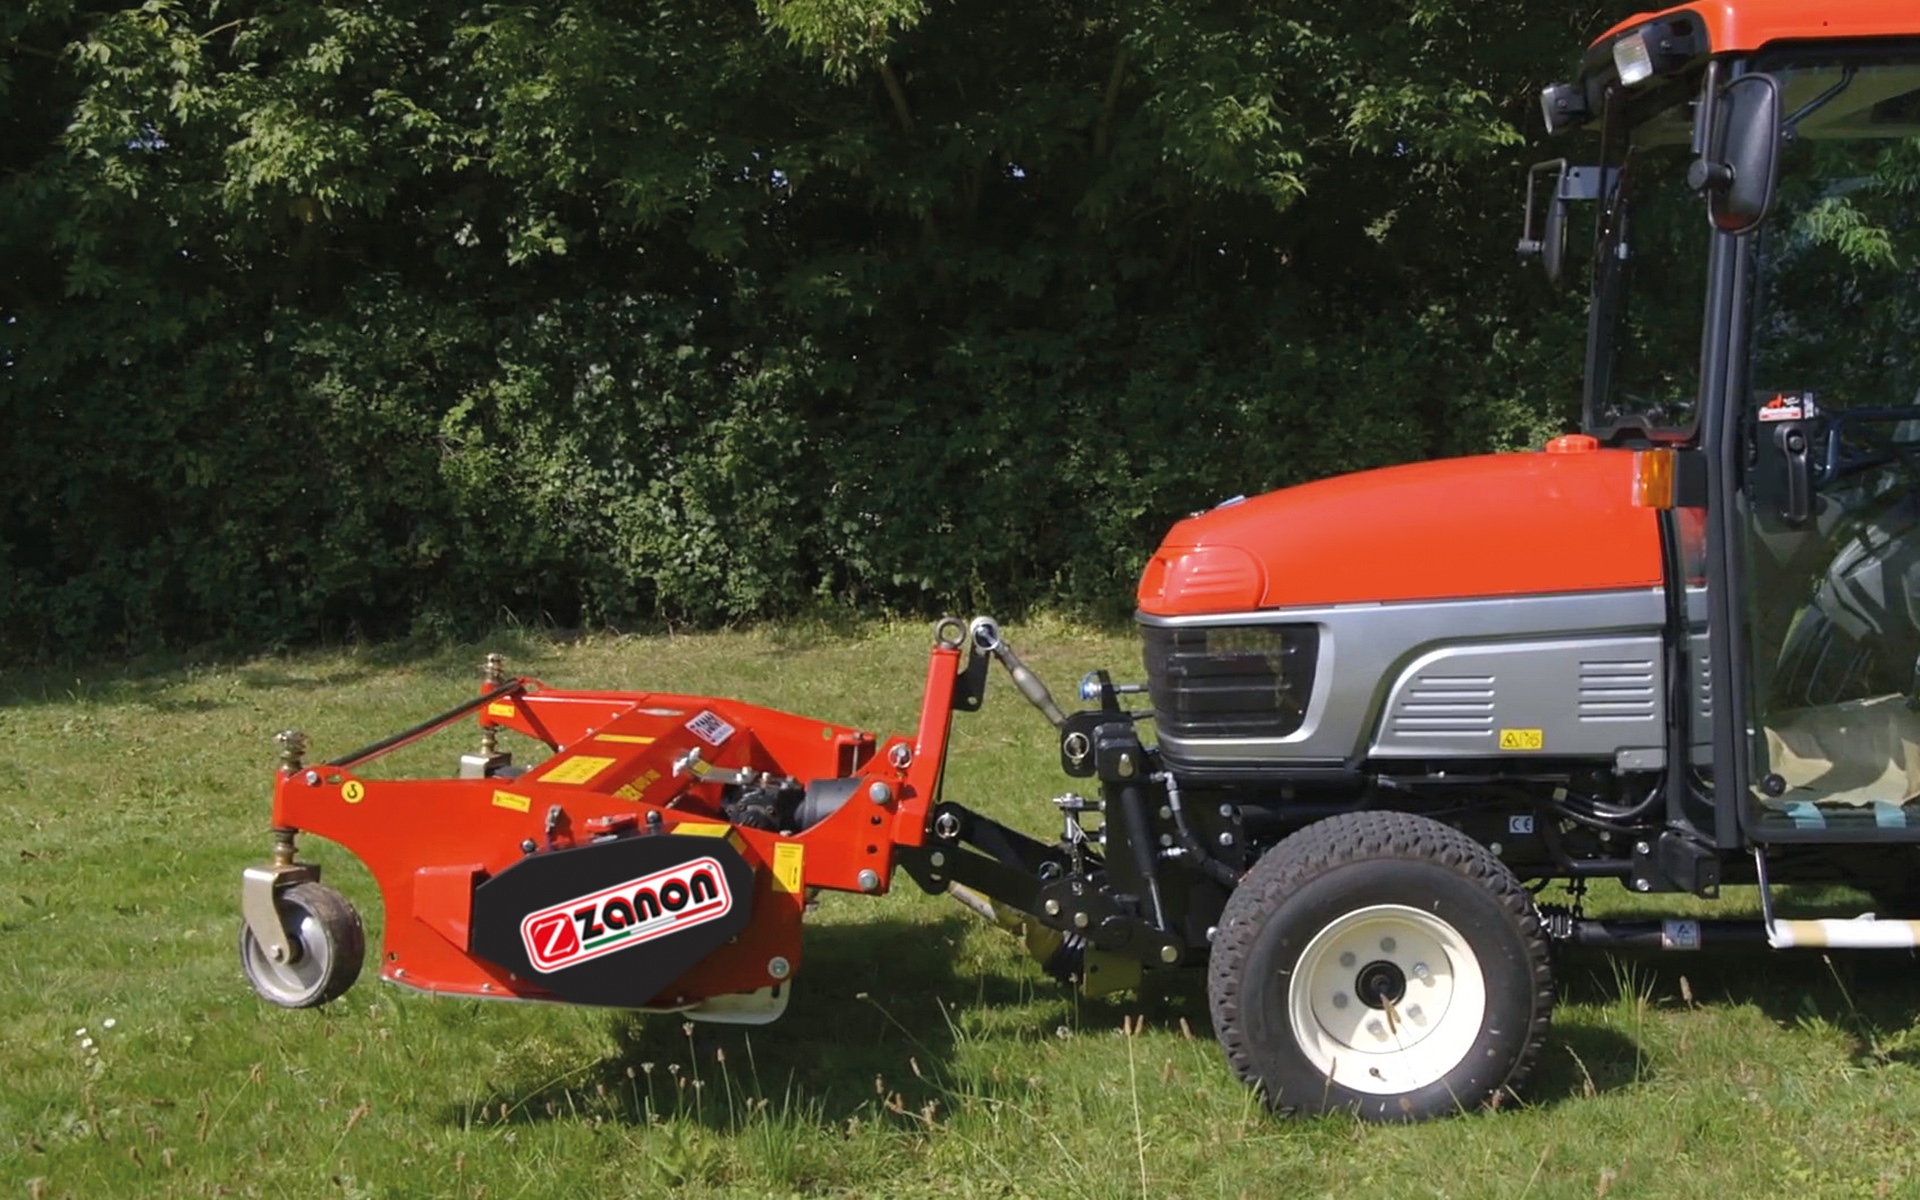
The following are required for fitting:
- front 3-point hitch
- front power take-off (PTO)
- correct weight distribution
Particular attention must be paid to the tractor’s visibility and balance, especially when working on uneven ground.
Fitting reversible mulchers: dual mounting and maximum flexibility
Reversible mulchers are designed to operate both at the rear and at the front. This means they can be fitted to either side of the tractor.
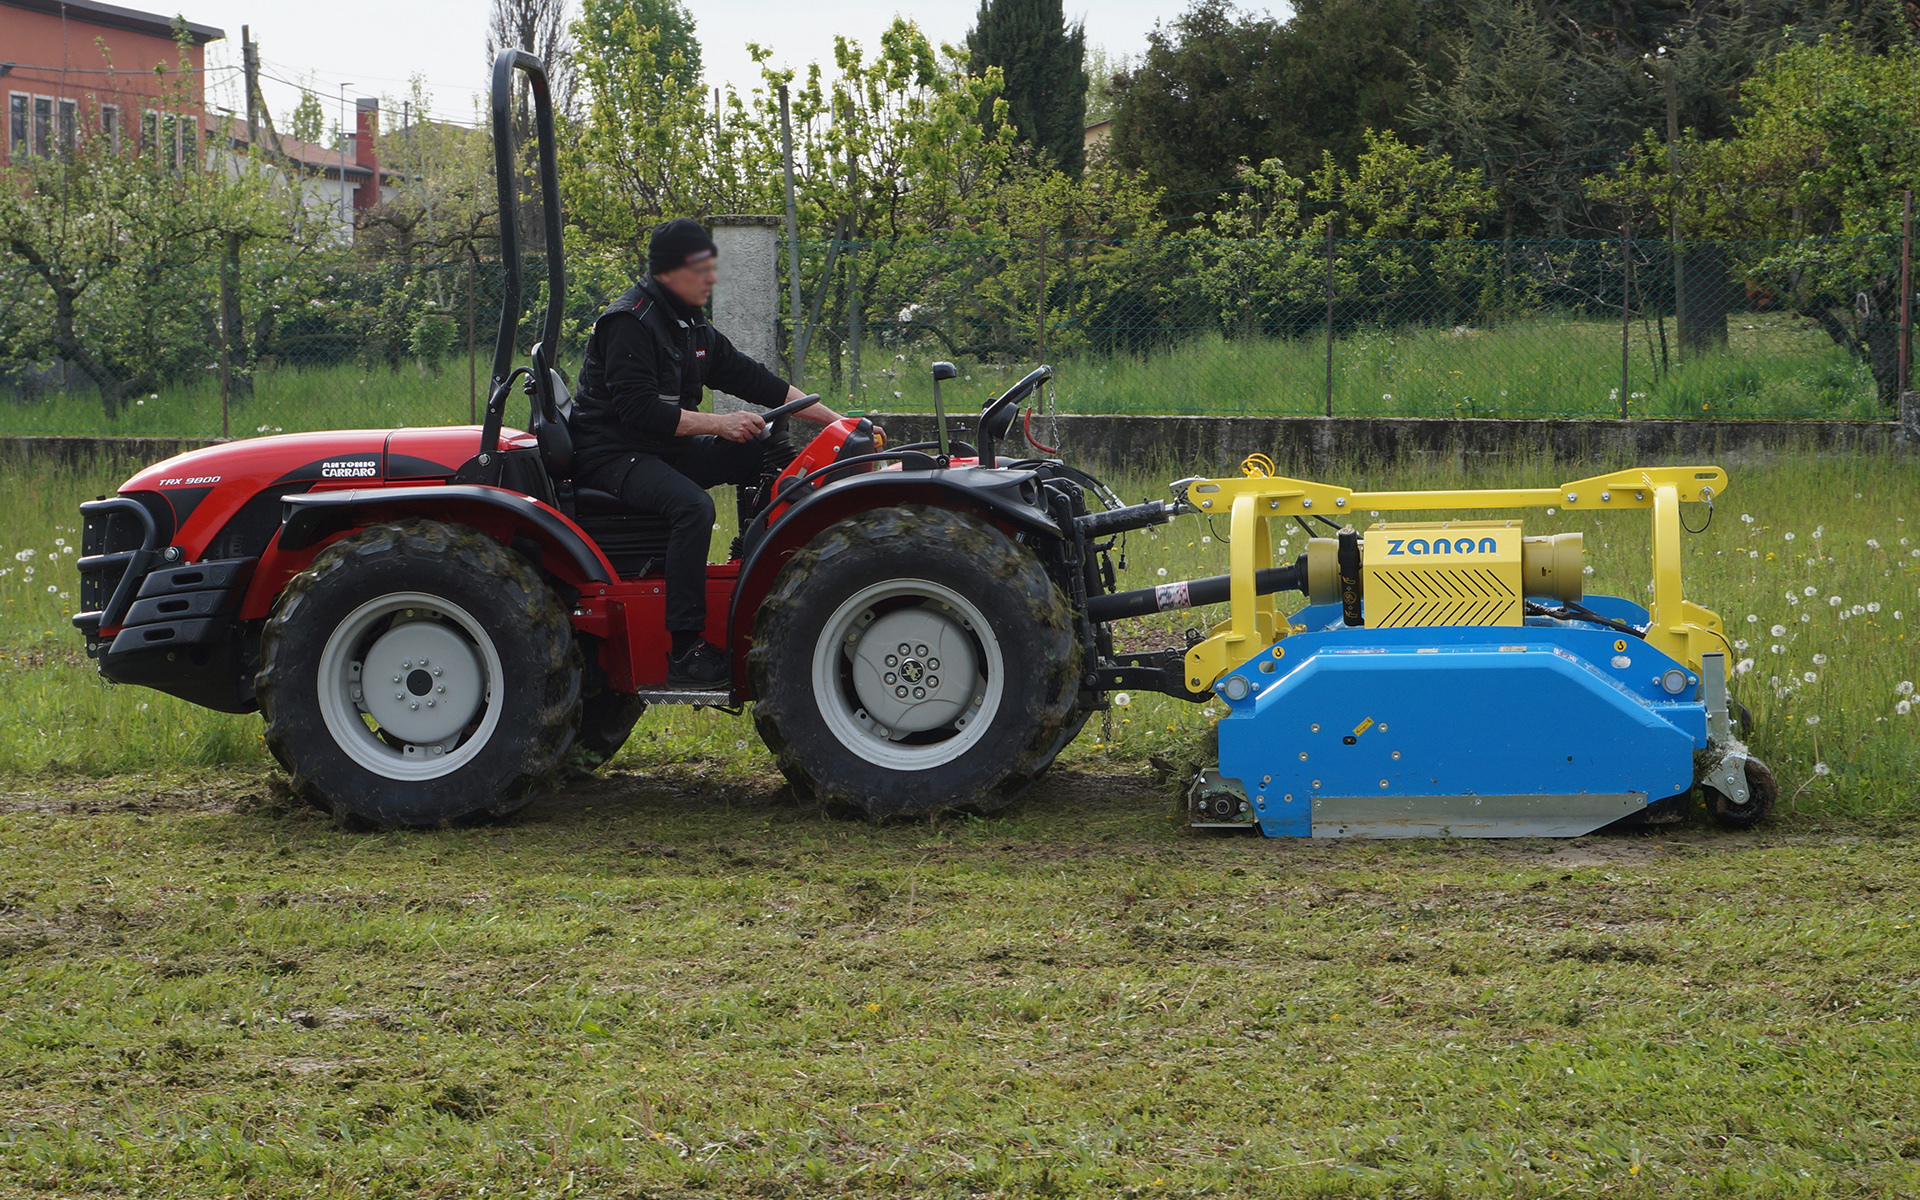
What changes during assembly:
- Dual 3-point hitch (front and rear);
- Requires a front or rear PTO;
- Ability to reverse the machine;
Please note:
- Correct direction of rotation of the PTO;
- Length of the drive shaft (may vary between front and rear);
- Adjustment of the suspension to maintain stability
These are very versatile machines, but they require greater care during fitting.
Fitting of forestry mulchers for heavy-duty work
Forestry mulchers are designed for intensive work on dense vegetation and woody debris, so fitting them requires greater care.
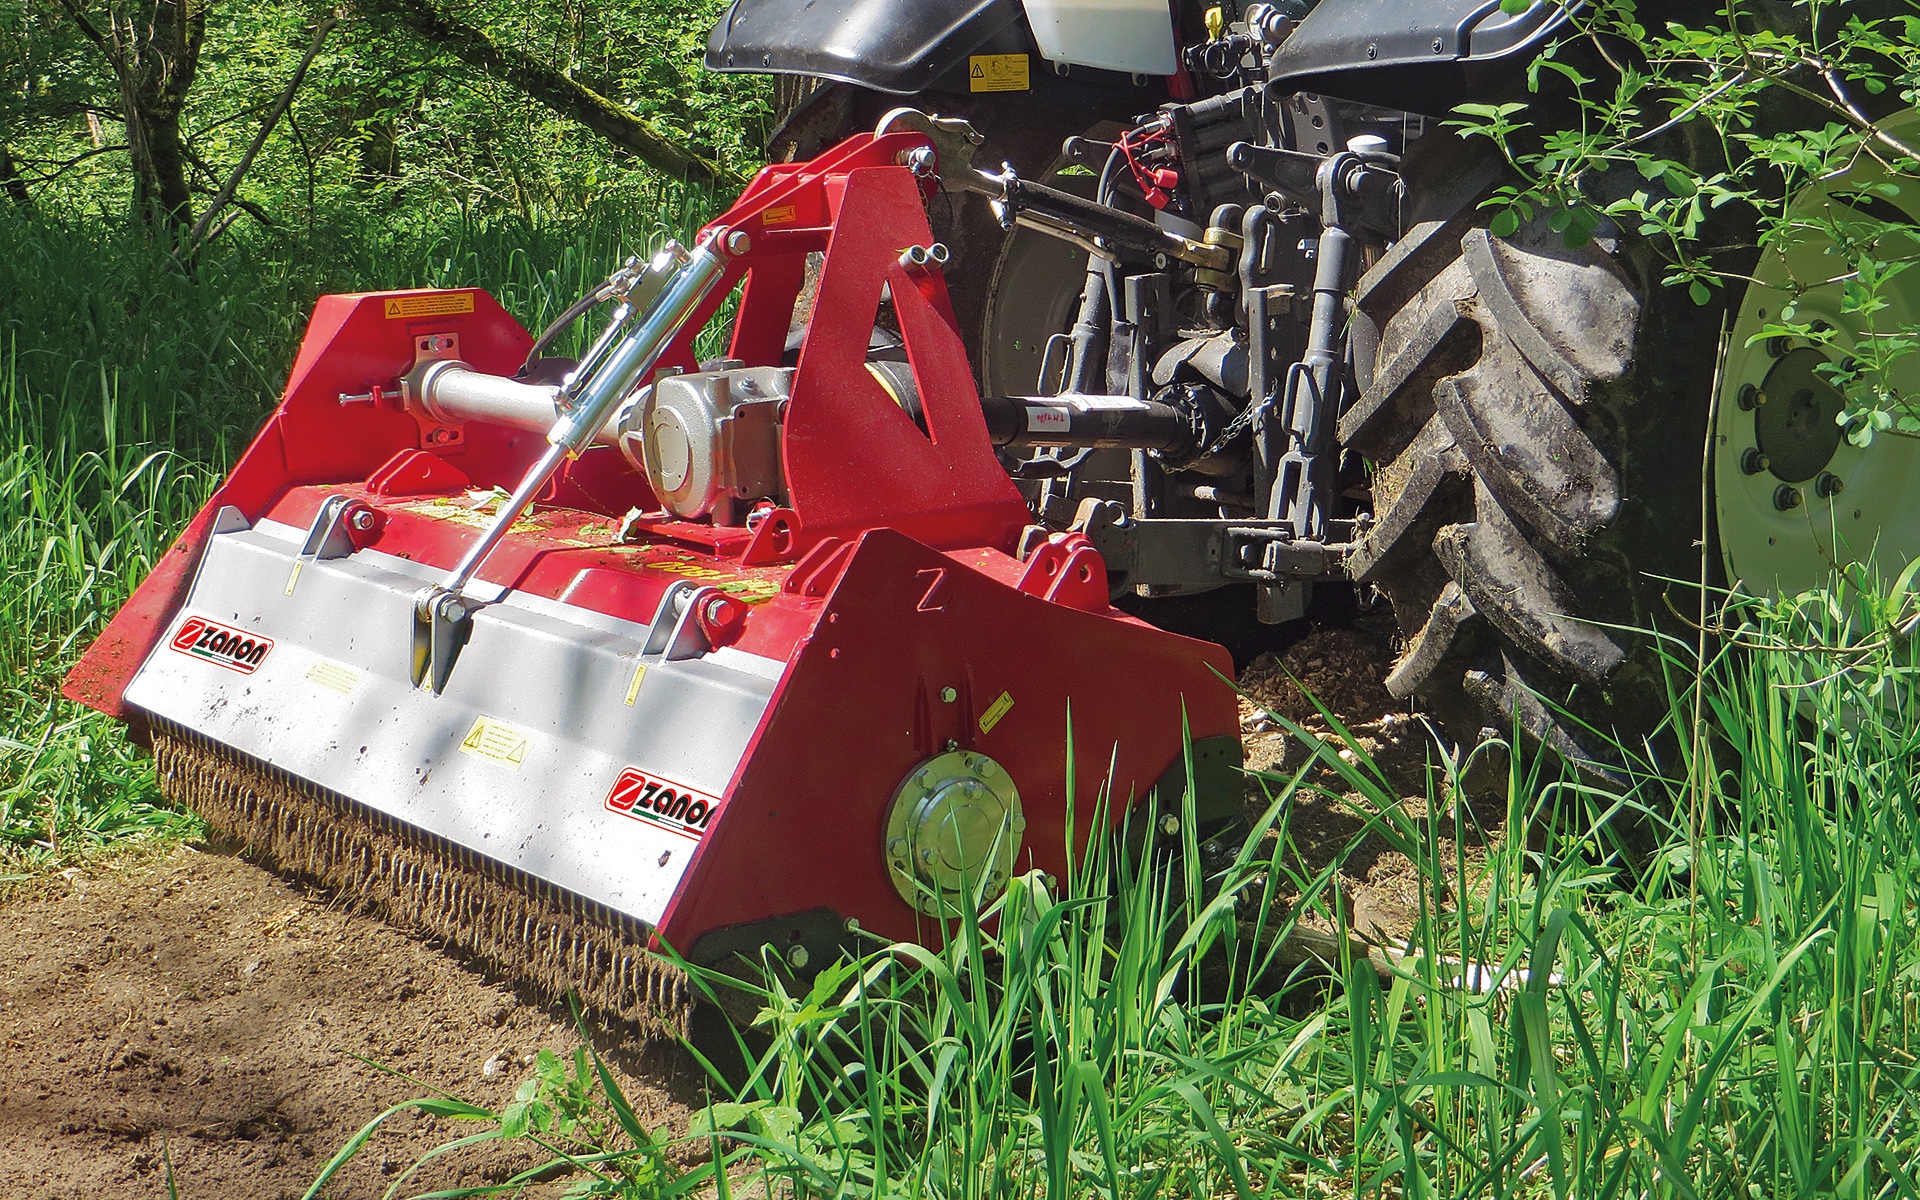
Given the heavy weight, a tractor with adequate lifting capacity and a reinforced three-point hitch is required. Here, checking the PTO shaft and the protective guards is even more critical, given the impact force exerted by the rotor on woody crop residues.
During assembly, it is essential to:
- check the tractor’s lifting capacity;
-carefully inspect the PTO shaft;
-correctly connect any hydraulic hoses;
For all these types, the basics remain the same:
- three-point hitch;
- PTO connection;
Correctly adapting the assembly to the type of mulcher is what distinguishes a makeshift approach from a truly professional one.
5. Functional testing and final adjustments after coupling
Once the attachment is complete, regardless of the type of mulcher, carry out a final check:
- Lifting: raise the mulcher and check that it does not come into contact with any part of the tractor (wheels or mudguards).
- Cutting height: adjust the rear roller or the side skids. The mulcher should ‘float’ over the grass, not dig into the ground.
- Slow start-up: engage the PTO at low revs. If you feel any unusual vibrations, switch it off immediately and re-check the PTO shaft alignment.
6. Post-installation maintenance: lubrication and inspection of components
Whenever you attach the mulcher, take the opportunity to give the cardan joints and roller mountings a quick ‘lubrication’.
Regular maintenance not only prevents sudden breakdowns but also improves the quality of the mulching. If you’d like to find out more about all the tasks to be carried out, read the comprehensive guide to mulcher maintenance.
Zanon's safety advice on coupling agricultural machinery
At Zanon, we have been manufacturing agricultural machinery for over 50 years, and safety is our top priority. Here are some precautions that our technicians always emphasise when attaching a mulcher to a tractor:
- Never connect or adjust the mulcher whilst the tractor engine is running and the key is in the ignition.
- Always check that there are no people within the machine’s operating range when engaging the power take-off.
- After the first hour of work, get out and check that all pins and bolts are still securely tightened.
Learning how to attach a mulcher to a tractor requires just a little practice and a keen eye for detail. A properly executed coupling ensures a clean cut, reduced fuel consumption and protects your investment over time.
If you have any doubts about the compatibility of your tractor or would like to discover the latest technological innovations, browse our full range of Zanon mulchers and contact our experts for personalised advice.